
- Open a web browser and go to https://barracuda.brownco.k12.in.us
- If you run into a page warning you about a security certificate, follow the instructions below for your browser. Otherwise, continue to step 3.
- Internet Explorer
- Your screen should look like the image below. Click on “Continue to this website (not recommended)”
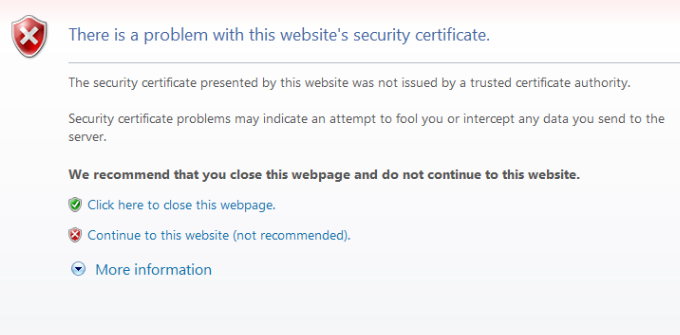
- Your screen should look like the image below. Click on “Continue to this website (not recommended)”
- Mozilla Firefox
- Your screen should look like the image below. Click on “I understand the risks”
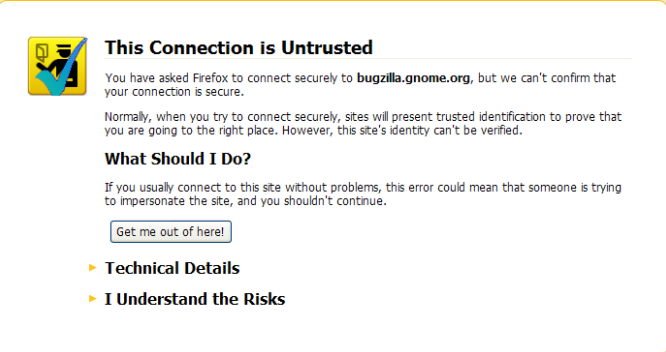
- At the pop-up, click “Get Certificate” and then “Confirm Security Exception”

- Your screen should look like the image below. Click on “I understand the risks”
- Safari
- Your screen should look like the image below. Click on “Continue”
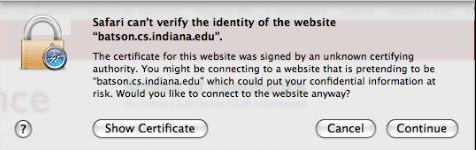
- Your screen should look like the image below. Click on “Continue”
- Google Chrome
- Your screen should look like the image below. Click on “Proceed Anyway”
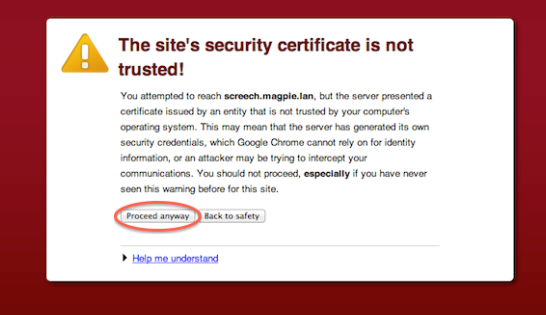
- Your screen should look like the image below. Click on “Proceed Anyway”
- Internet Explorer
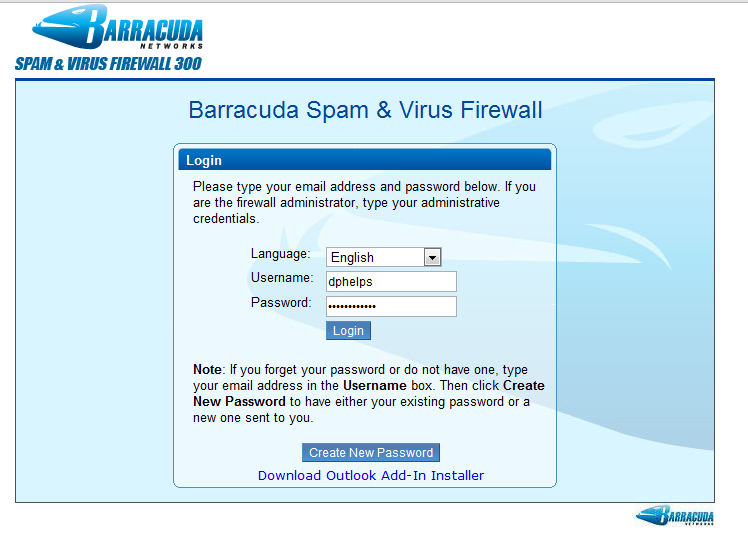
- At the Barracuda login page, enter your login information and click Login
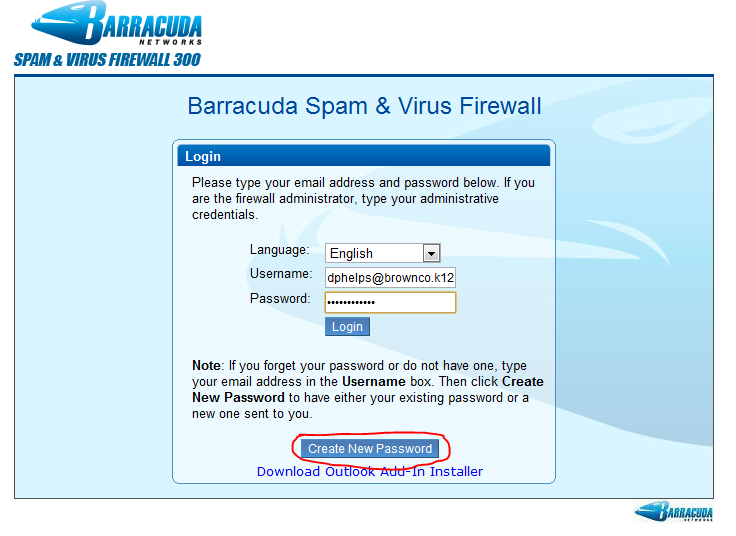
- If your login does not work, type in your school email address in the username field, then type in your password and click Create New Password. A confirmation email will be sent to you.
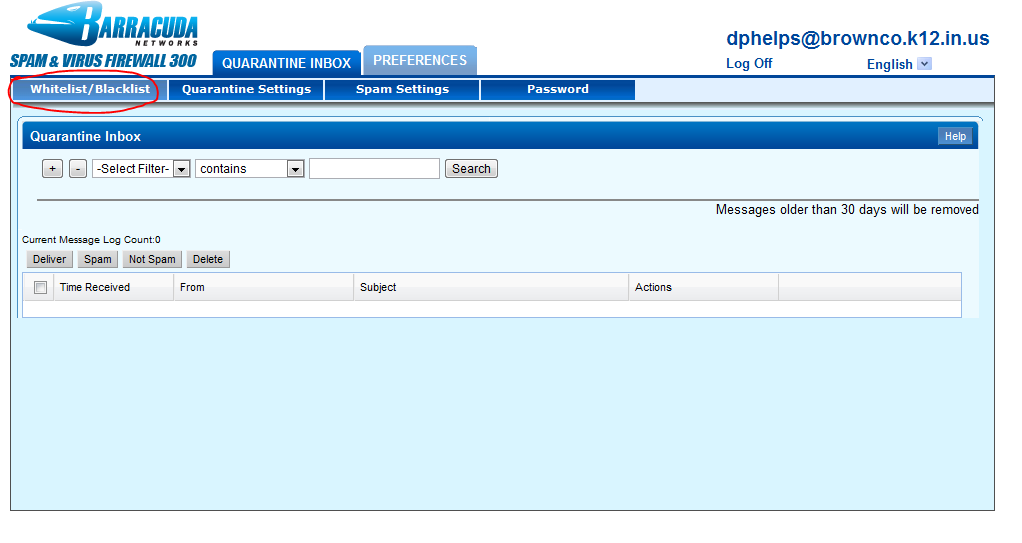
- You will now be looking at your spam quarantine. Under the preferences tab, select Whitelist/Blacklist
- Now simply enter the addresses you would like to block or allow in the corresponding box and click Add
