 There are a couple ways to do this. The first is through the standard Outlook client from your school computer. The second is through the Outlook Web App (school website email).
From Outlook
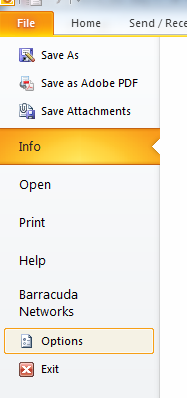
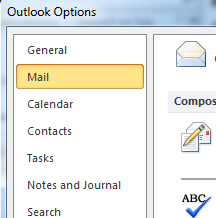
- Go to File -> Options and select Mail on the left-hand side.
- Click the Signatures button
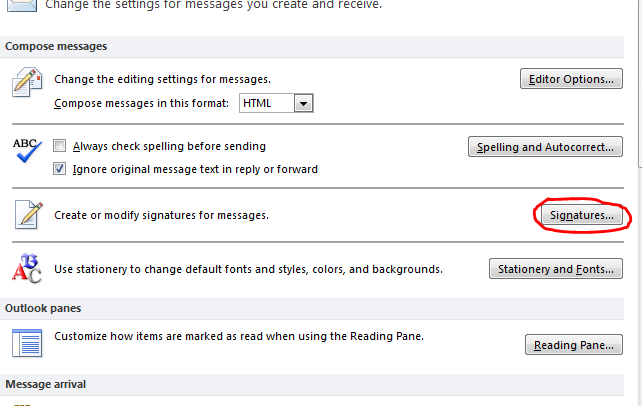
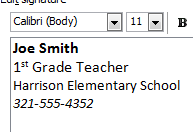
- Create a New signature and give it a name. Type what you want your signature to look like in the box on the bottom. Then make sure that you have selected which signature you want to use for New messages: and Replies/forwards: In this example, I have only one signature and am using it for both options. You can choose to use it for just one or create a separate signature for each option.
From Outlook Web App (website)
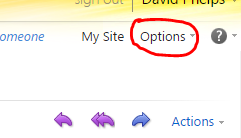
- After logging in, click on the Options button in the top-right corner and choose See All Options
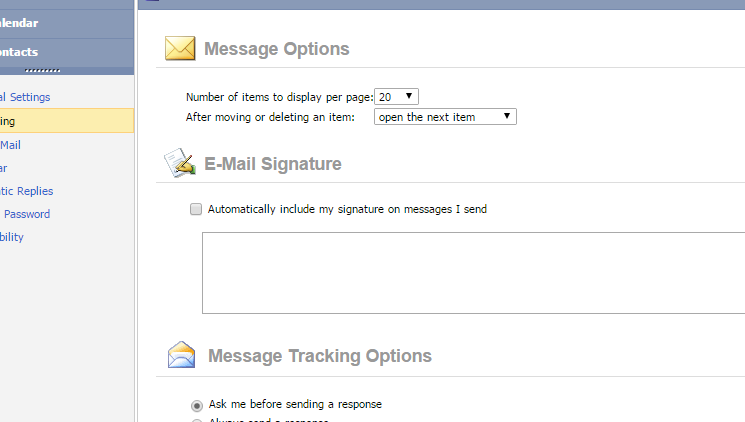
- Select Settings on the left-hand side and you will see an E-mail Signature box for you to add your signature. Be sure to check the box that says Automatically include my signature on messages I send unless you want to include your signature only when you specify.
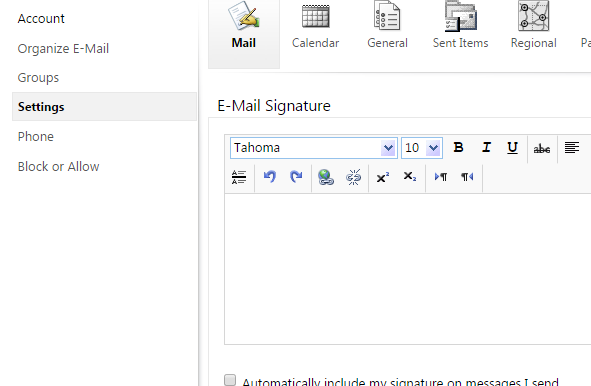
- Click Save at the bottom when you are finished creating your signature
If you are using the Light Version of the Web App (for slower internet connections), you will see the signature option as soon as you click on Options.